Configure Your AI Messaging Settings
🚀 Ready to let AI handle your firm’s client communication? With AI Messaging (Autoresponder), you can set the rules once and let Kayse’s smart assistant reply to clients automatically across SMS, Email, and In-App chats. That means faster responses, less manual work, and more time for your team to focus on the cases that matter most.
AI Messaging gives you full control: choose which channels AI will cover, decide which case types stay human-handled, and set review times and schedules that fit your firm. Let’s walk through how to set it up step by step.
Enabling AI Messaging
Before you begin: Make sure you've connected an AI resource to your company. AI Messaging requires an active AI resource to function.
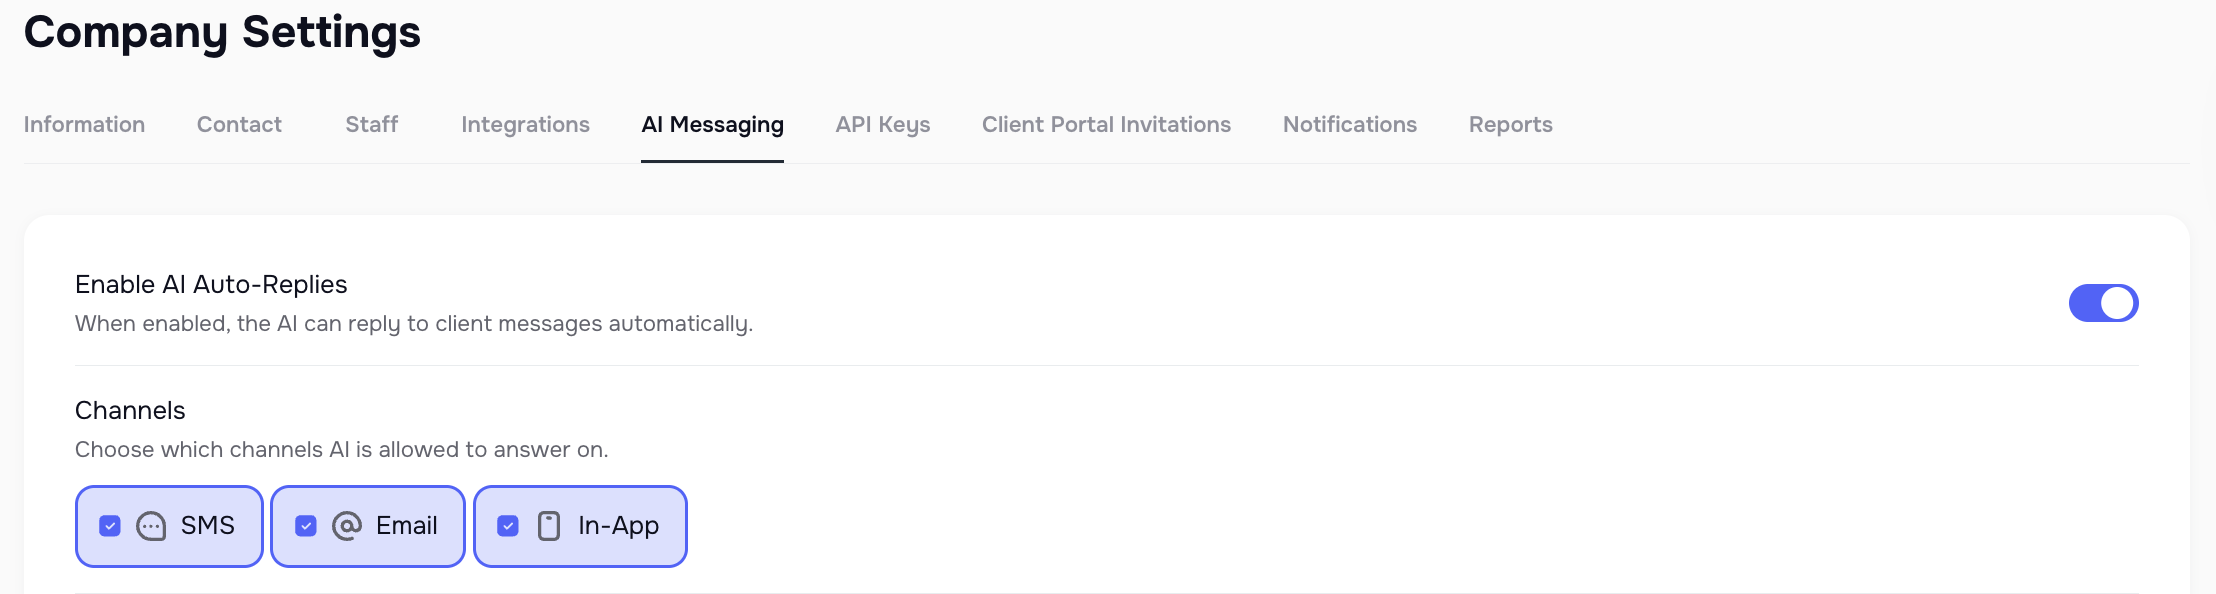
- Go to Company Settings → AI Messaging
- Switch Enable AI Auto Reply to ON
- Select which channels AI should respond in:
- SMS
- In-App messages
By default, AI handles all channels. You can leave them all active or choose just one.
Excluding Case Types
- By default, AI replies to all case types.
- Use the Exclude Case Types field if you want specific case types to always be handled by a human.
- Simply search and select the case types to exclude.

⏱️ Review Time
- AI generates a draft reply for each client message.
- Review Time defines how long you (or your team) have to review it before it sends automatically.
- Default: 2 minutes
- Note: There is an additional 30-45 seconds in time added for generating each reply after analyzing each client and their case in the database. Plan for a 2-minute delay feeling like 3 minutes, so if you really want a 2-minute reply, then switch it to 1 minute.
- Options:
- Edit the draft
- Cancel it
- Send immediately

️ Schedule Replies
- Decide when AI should be active.
- By default, from 9 AM to 9 PM, weekdays only (Monday–Friday).
- AI always follows the time zone of your company settings, so all schedules match your firm’s location.
- You can fully customize days and hours.

📝 Prompts & Confidence
- In View Prompt, you can see the instructions AI follows when generating replies.
- AI always sends replies, even if confidence is under 90% — ensuring clients don’t wait.
- Click Save after any changes.

Summary
With AI Messaging settings, your firm decides exactly how AI communicates with clients. From enabling channels and excluding case types, to setting review times and defining schedules, everything is under your control. Once configured, AI Messaging ensures your clients always get timely, accurate updates without adding extra work for your team.
👉 Next: See how AI Messaging looks in action inside the chat interface: 💬 Work Smarter with AI Messaging in Messenger